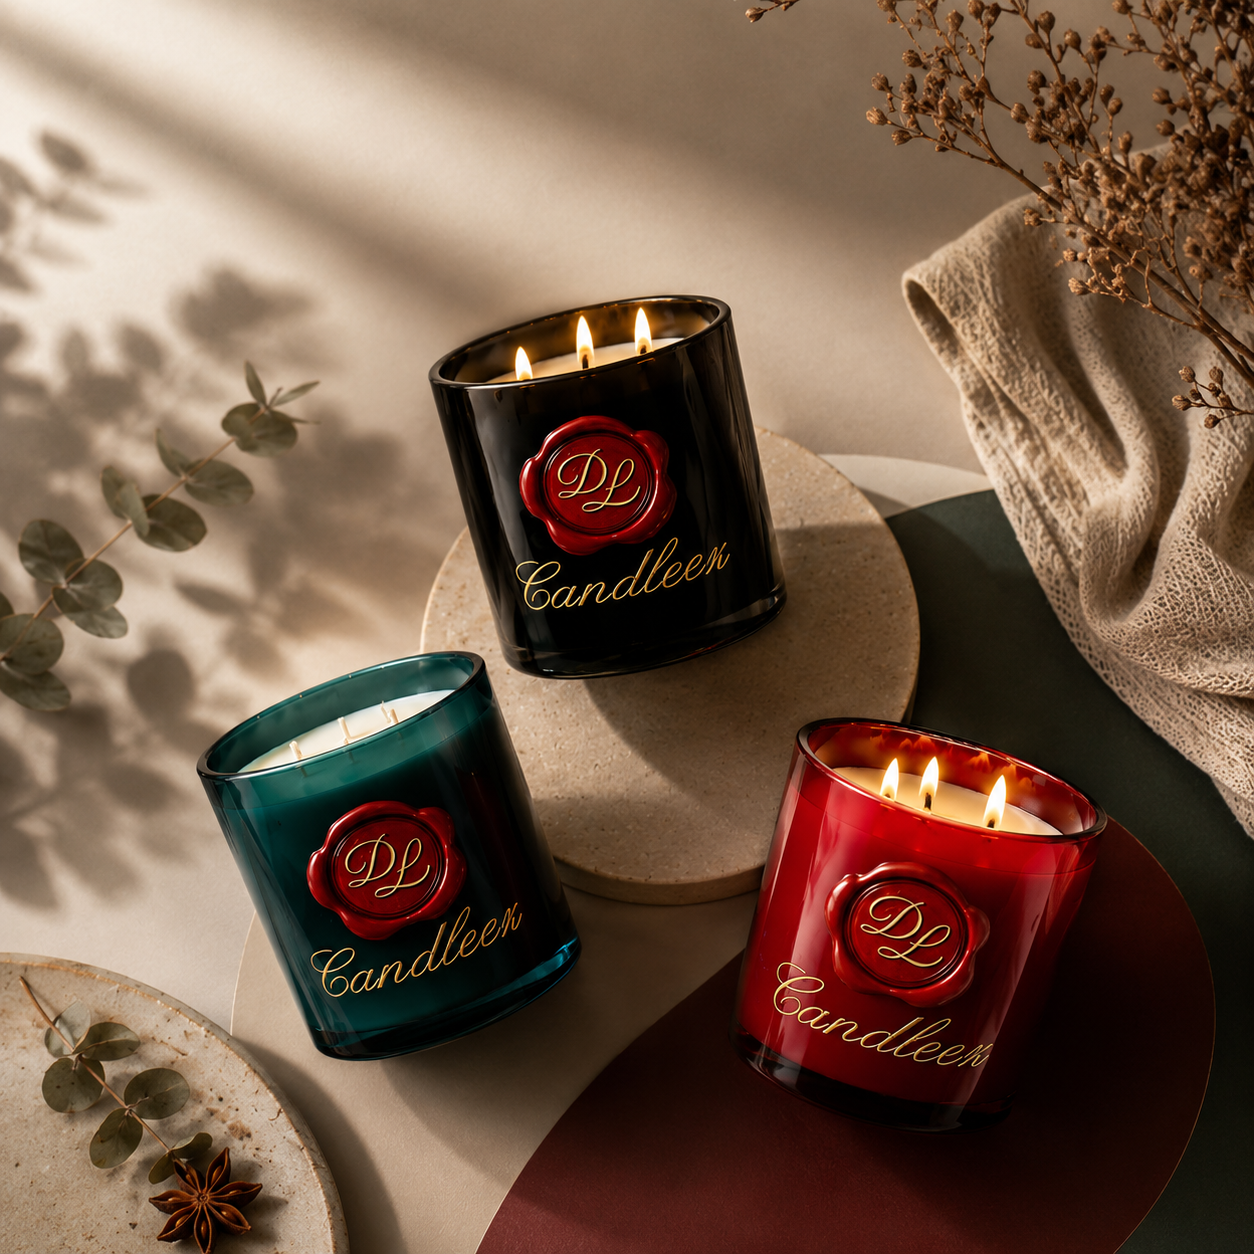
Candle Care Guide
For the Best Candle Experience
Five simple steps to help you enjoy better fragrance, even burning, and a longer life for your candle.

01
Step 01
Trim the Wick
Before each burn, trim the wick to approximately 6 mm (¼ inch). This helps prevent black smoke, keeps the flame calm and stable, and promotes a cleaner, more even, and longer-lasting burn. Always allow the candle to cool completely before trimming the wick, and carefully remove any wick debris from the wax.

02
Step 02
Allow a Full Melt Pool
Each time you light your candle, especially during the first burn, allow the entire top layer of wax to melt from edge to edge. This helps prevent tunneling and ensures the wax burns evenly during future use. Once a full melt pool has formed, do not leave the candle burning for more than one additional hour.

03
Step 03
Extinguish Your Candle Properly
Use the candle lid or a proper candle snuffer to extinguish the flame instead of blowing it out. This helps prevent hot wax from splashing and reduces excessive smoke.

04
Step 04
Cover After Cooling
Once the candle has cooled completely, we recommend covering it with its lid. This helps protect the wax from dust and external elements while preserving the strength and quality of the fragrance oils for longer.

05
Step 05
Keep the Vessel Clean
Regularly clean the inside of the candle vessel using a non-alcohol-based cleaning product. Keeping the vessel clean helps maintain the candle’s appearance and ensures a cleaner burning experience.
Your Candle Deserves a Little Care
By following these simple steps, you'll get the best performance and fragrance from every candle.
- Choosing a selection results in a full page refresh.